


Epoxy resin strengthens Glue Laminated Beam (GLT) installations, enhancing load-bearing capacity and durability. Proper preparation, mixing, and application of epoxy are key for structural integrity. Curing times vary based on environmental conditions and beam thickness; follow manufacturer instructions. Post-curing involves sanding, sealing, and regular maintenance to prevent damage. Refer to the Glue Laminated Beam Installation Guide (GLTIG) and unalam.com for expert advice.
“Strengthen your beam gluing with epoxy resin—a powerful adhesive for structural integrity. This comprehensive guide delves into the world of epoxy, offering a detailed step-by-step process for installing glued laminated beams. From understanding the unique properties of epoxy resin to mastering the mixing and application techniques, you’ll learn how to enhance beam bonding.
Covered topics include preparation, curing times, and maintenance tips, ensuring your project’s longevity. Discover the benefits of epoxy resin as a game-changer in beam gluing, making every installation a sturdy testament.”
- Understanding Epoxy Resin for Beam Strengthening
- Preparing Your Work Area and Materials
- Mixing and Applying Epoxy Resin Correctly
- Gluing Laminated Beams: Step-by-Step Process
- Curing and Setting Time Considerations
- Final Touches and Maintenance Tips
Understanding Epoxy Resin for Beam Strengthening
Epoxy resin plays a pivotal role in enhancing the strength and durability of glued laminated beam (GLT) installation, making it an indispensable component for structural integrity. When used correctly, epoxy resin acts as a potent adhesive, fortifying the bond between individual wood laminations within a GLT. This process significantly improves the load-bearing capacity and overall stability of wooden beams, ensuring they can support substantial weight with minimal deformation.
For those adhering to building codes and following a comprehensive laminated beam construction guide, understanding the properties of epoxy resin is key. It offers superior bonding strength compared to traditional glues, making it ideal for demanding applications. By meticulously following the guidelines outlined in the Glue Laminated Beam Installation Guide (GLTIG), builders and contractors can maximize the benefits of epoxy resin. For more insights into GLT construction, visit us at unalam.com.
Preparing Your Work Area and Materials

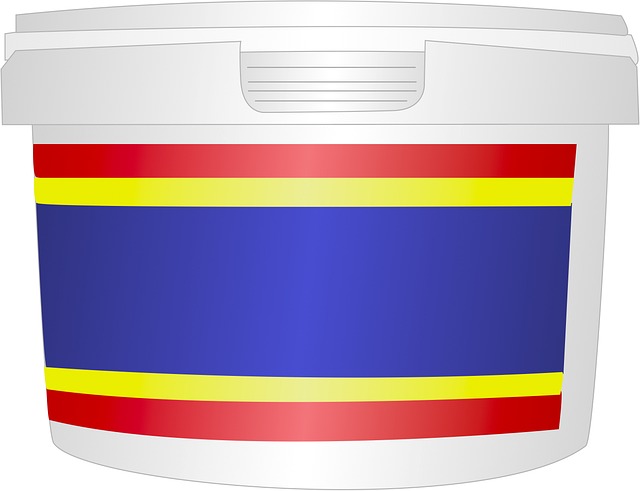
Before you begin your glue laminated beam installation, preparing your work area and gathering the right materials is crucial for achieving strong bonds and long-lasting results. Start by setting up a well-ventilated space, as epoxy resin can release strong fumes. Ensure adequate lighting to clearly see every detail of your project. Lay out all necessary components: your chosen epoxy resin, mixing tools, protective gear (gloves, safety glasses), and of course, the glue laminated beam components you’re joining.
Choosing the right adhesive is key; epoxy offers superior bonding strength compared to traditional nail methods for GLT construction. This powerful adhesive ensures the longevity of your beams, especially when fixing broken connections. Select an epoxy designed specifically for structural applications, ensuring it’s suitable for the material and weight requirements of your beam project. For guidance on selecting the perfect adhesive, refer to industry resources or consult professionals like those found at unalam.com.
Mixing and Applying Epoxy Resin Correctly

Mixing and applying epoxy resin correctly is key to achieving stronger beam gluing in your Glue Laminated Beam (GLT) installation. Start by ensuring proper ventilation in your work area, as mixing epoxy can release strong fumes. Wear protective gear including gloves, safety glasses, and a respirator mask for safety. Follow the manufacturer’s instructions carefully for the specific resin you’re using. Typically, you’ll need to mix equal parts of the resin and hardener until a smooth, glossy consistency is achieved.
Once mixed, apply the epoxy resin evenly across the surfaces of the laminated beam where the glue will be used. Use a putty knife or similar tool to spread it consistently, making sure all gaps and crevices are filled. This meticulous application step is crucial for the advantages of gluing over nailing, as it creates a seamless bond that enhances structural integrity. For professionals, GLT installation workshops at our facility at 18 Clifton St, Unadilla, NY 13849 offer in-depth guidance on mixing and applying epoxy resin, ensuring your GLT beam installation is done right from the start.
Gluing Laminated Beams: Step-by-Step Process

Gluing Laminated Beams: A Step-by-Step Process
When it comes to structural integrity, glue lamination for beams is an effective method for strengthening connections. This process involves using epoxy resin to bond laminated beams together, creating a robust and durable joint. Here’s a straightforward guide on how to achieve this:
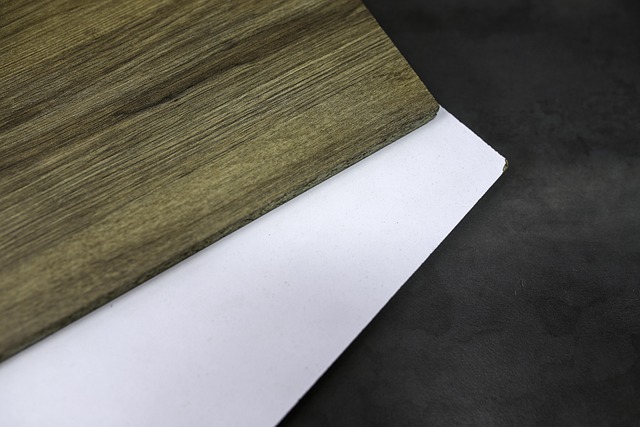
1. Preparation: Ensure the surface of the beams is clean, dry, and free from debris or oil. Sand any rough edges if necessary. This step is crucial for achieving strong adhesion.
2. Mixing Epoxy Resin: Follow the manufacturer’s instructions to prepare the epoxy resin. Typically, this involves mixing two components: a resin and a hardener. The correct ratio is critical for optimal performance.
3. Application of Glue: Apply a generous amount of the mixed epoxy to one or both surfaces where the beams will connect. Use a brush, spatula, or roller depending on the surface area and desired coverage.
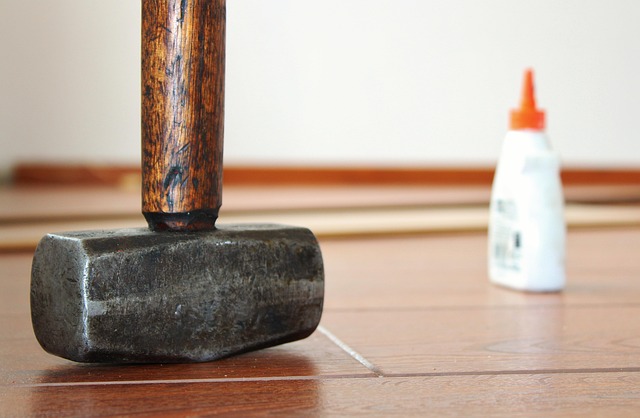
4. Laminated Beam Setup: Align the laminated beams carefully and press them together firmly. Make sure there’s even pressure across the entire contact area. You can use clamps to secure the beams in place while the glue sets.
5. Troubleshooting Poor Adhesion: If you encounter issues with poor glue adhesion, consider checking for surface contaminants, ensuring proper mixing ratios, and verifying that the beams are clean, dry, and properly aligned.
6. Curing: Allow the epoxy to cure according to the manufacturer’s recommended time frame. This could range from several hours to a day or more, depending on the specific product used.
7. Indications for GLT Beam Installation: Look out for signs of successful installation, such as strong joint integrity, minimal gap formation, and no visible signs of movement or stress. For any concerns regarding your GLT beam setup, reach out to us at unalam.com for expert advice.
Curing and Setting Time Considerations

When using epoxy resin for beam gluing, understanding the curing and setting time is crucial for successful Glue Laminated Beam Installation Guide. The process begins with preparing the surfaces to ensure they are clean, dry, and free from any contaminants that could impede adhesion. Once the beams and components are properly aligned and glued together, the epoxy must be allowed to set and cure completely.
Curing times can vary depending on several factors, including environmental conditions, the type of epoxy resin used, and the thickness of the beam assembly. Referring to the manufacturer’s instructions for specific curing time frames is essential. Online resources for laminated beam construction offer detailed guidelines and tips to help you navigate this process effectively. Additionally, permits needed for laminated beam installation should be considered before beginning any project, ensuring compliance with local building codes and regulations. For a comprehensive guide and expert advice, find us at unalam.com.
Final Touches and Maintenance Tips
After the epoxy resin has fully cured, it’s time to add the final touches to your glue laminated beam installation. This includes sanding any rough edges or surfaces to ensure a smooth and even finish. Use fine-grit sandpaper starting with 120-grit and gradually working up to 220-grit for the best results. Once smoothed, apply a coat of high-quality wood sealer or finish to protect the beam and enhance its natural beauty.
Regular maintenance is key to keeping your glued beams strong and durable. Check the beams periodically for any signs of damage, moisture, or warping. For routine cleaning, use a soft cloth dampened with water and mild detergent; avoid harsh chemicals that could damage the epoxy or wood. If you notice any issues, consult our expert team by giving us a call at (607) 369-9341. While epoxy resin provides superior strength for glue laminated beam installations, proper care and maintenance will ensure these ideal applications for glued beams last for years to come. Explore step-by-step videos for wood beam gluing on our website to further guide your project.
Epoxy resin proves an invaluable ally in enhancing beam gluing strength, offering a robust solution for structural integrity. By adhering to this comprehensive Glue Laminated Beam Installation Guide, from preparing your workspace to final touches and maintenance, you can ensure strong, lasting bonds that elevate the quality of your construction projects. Incorporating epoxy resin into your toolkit empowers you to achieve superior results in beam gluing, making it a valuable asset for any carpenter or contractor.