


Selecting high-quality lumber and structural adhesives is vital for successful glue-laminated beam construction. Proper preparation includes clearing the site, ensuring a level subfloor, and accurate measurements. The guide explores cost-effective beam attachment using wood glue, emphasizing alignment and strong bonding. Curing and finishing ensure structural integrity, durability, and aesthetic appeal of GLT beams for decks, porches, and furniture. For expert advice, visit 18 Clifton St, Unadilla, NY 13849 or call (607) 369-9341.
“Looking to enhance your construction projects with robust glue-laminated beams? This comprehensive guide walks you through the meticulous process, from selecting high-quality lumber suitable for laminating to precise surface preparation and accurate measurements. Learn the art of applying adhesive along joints, aligning beam components with careful pressure, and allowing adequate curing time. By following these steps, ensure a strong, durable structure for your next building endeavor.”
- Select Suitable Lumber for Laminated Beams
- Prepare the Surface and Measurements Accurately
- Apply Adhesive Along Joints and Connect Beam Ends
- Align and Press Beam Components Together Firmly
- Cure and Finish for Strong, Durable Structure
Select Suitable Lumber for Laminated Beams
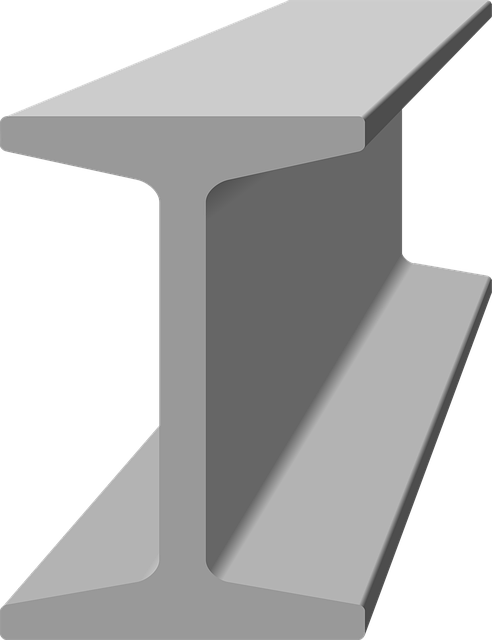
When constructing glue-laminated beams, selecting the right lumber is paramount for structural integrity and long-term performance. Look for high-quality, stress-rated wood species such as Douglas fir, spruce, pine, or hemlock (SPF). These woods offer excellent strength-to-weight ratios and are suitable for various building applications. Ensure the lumber is free from knots, defects, and moisture content issues to guarantee optimal results in your laminated beam installation guide.
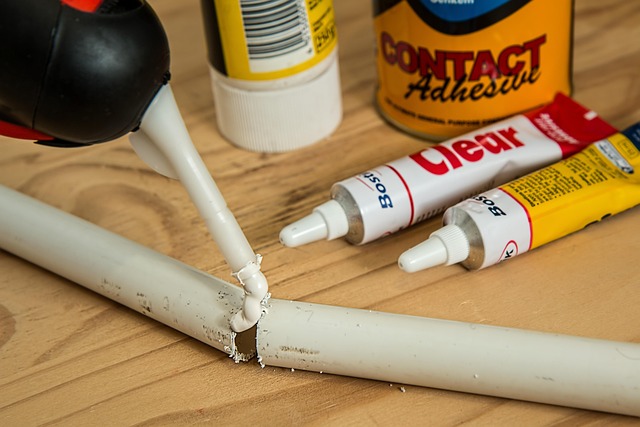
Choosing the appropriate adhesive is another critical aspect of successful glue lamination for beams. Look for structural adhesives specifically designed for timber lamination, which offer strong bonding and resistance to environmental factors. Online resources for laminated beam construction provide valuable insights into selecting the right adhesive for beams, aligning with best practices in the industry. Refer to these guides when planning your step-by-step laminated beam setup, ensuring you find us at unalam.com for more expert advice.
Prepare the Surface and Measurements Accurately
Before beginning the GLT (Glue Laminated Timber) beam installation process, ensuring the surface is properly prepared and measurements are accurate is paramount. This initial step sets the foundation for a successful and durable construction project. Start by clearing the area of any debris or obstructions, ensuring smooth access to the installation site. Verify that the subfloor is level and stable, making adjustments if necessary. Accurate measurement is key; use high-quality measuring tools to capture dimensions precisely. This ensures the GLT beams fit perfectly, aligning with structural requirements and architectural plans.
Remember, the GLT beam assembly techniques and best practices for installation heavily rely on these initial preparations. The advantages of GLT construction are numerous, offering both aesthetic appeal and structural integrity. To ensure a smooth installation process, have all required permits ready, as they may be necessary for this type of construction project. For expert guidance and support throughout the laminate beam construction journey, visit us at 18 Clifton St, Unadilla, NY 13849 anytime.
Apply Adhesive Along Joints and Connect Beam Ends

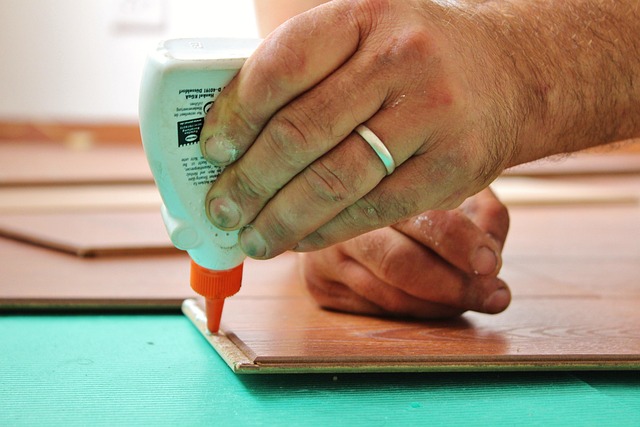
After preparing your joists and ensuring they’re level, it’s time to focus on beam installation. One effective method in the glue laminated beam installation guide is applying adhesive along joints before connecting beam ends. This process involves using a high-quality wood glue specifically designed for structural applications. Spread an even layer of glue along both surfaces of the joint where the beams meet, ensuring complete coverage.
Press the beam ends firmly together, aligning them precisely according to your design plans. Maintain pressure while the glue sets, typically following the manufacturer’s recommended drying time. This step eliminates the need for nailing or screwing, offering an inexpensive alternative to traditional beam attachment methods. Once cured, thoroughly inspect the bond for strength and accuracy, ensuring compliance with local regulations for glue lamination of beams. For expert guidance, visit us at 18 Clifton St, Unadilla, NY 13849, where our team can assist with your GLT assembly needs.
Align and Press Beam Components Together Firmly
After preparing your beam components according to your glue laminated beam installation guide, it’s crucial to ensure that all parts align perfectly before securing them together. This step is vital for maintaining structural integrity in your final product. Carefully fit each component into place, ensuring tight fits and even pressure across the joint lines. Once aligned, press the components firmly together. This action helps create a strong bond between the wood layers, which is essential for the overall strength of the laminated beam.
The choice of glue types for laminating wooden beams plays a significant role in the success of your GLT (Glue Laminated Timber) construction project. Referring to your building code requirements for GLT ensures compliance with industry standards and local regulations. When setting up your step-by-step laminated beam, make sure to follow each step precisely as outlined in your guide. For any questions or clarifications, don’t hesitate to reach out; give us a call at (607) 369-9341.
Cure and Finish for Strong, Durable Structure

After successfully installing your Glue Laminated Beam (GLT), the next crucial step is curing and finishing to ensure a strong, durable structure. Curing involves allowing the glue to set fully, which strengthens the bond between the lamina. This process typically requires 24-48 hours of undisturbed time for optimal results. During this period, maintain the beam’s relative humidity levels between 35% and 60% to support proper curing.
Once cured, finish the beam by sanding it gently with fine-grit sandpaper. Remove any debris or dust left behind from the installation process. Applying a protective coating, such as varnish or sealant, can further enhance durability and give your beam a desired aesthetic finish. This step not only protects against moisture and rot but also adds a sleek, professional touch to your project. Whether you’re building a deck, porch, or custom furniture, the advantages of GLT construction like increased structural integrity and reduced weight are evident when properly cured and finished. For expert guidance on glue laminated beam installation guide, ideal applications for glued beams, or step-by-step laminated beam setup, don’t hesitate to reach out to our team at (607) 369-9341.
Follow our comprehensive step-by-step guide on Glue Laminated Beam Installation to create a strong and durable structural component. By carefully selecting suitable lumber, preparing surfaces accurately, applying adhesive along joints, aligning beam components firmly, and allowing adequate cure time, you’ll ensure a high-quality laminate beam construction project. Incorporate these expert tips into your next DIY endeavor for optimal results.